Introduction
This guide walks you through how to create your account on the ArchGriffin client portal so you can manage your services, billing, and support tickets.
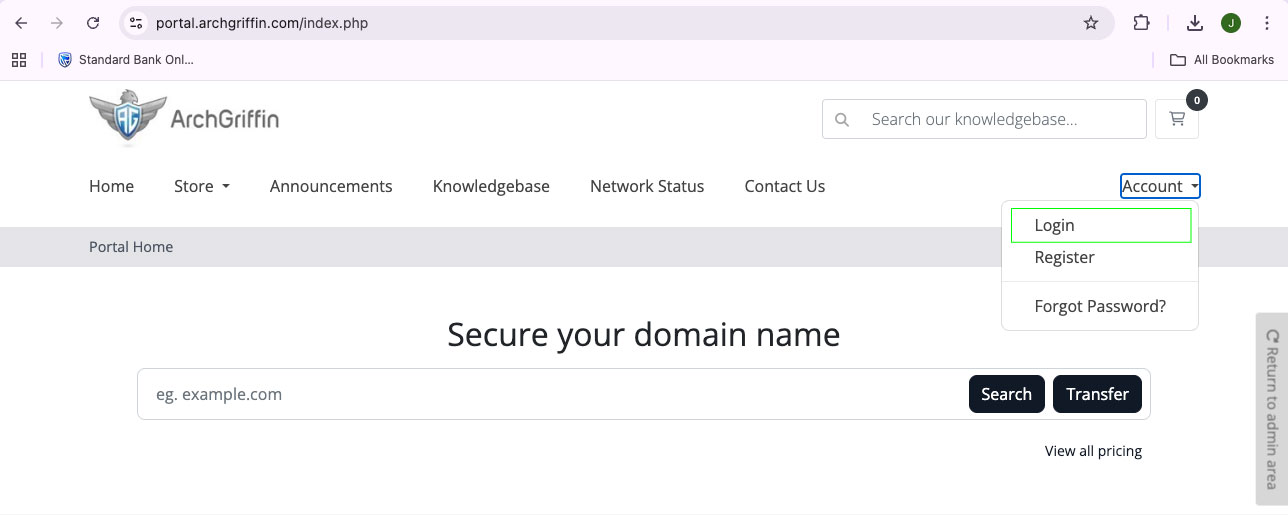
Step 1: Go to the Client Portal
1: Visit: https://portal.archgriffin.com
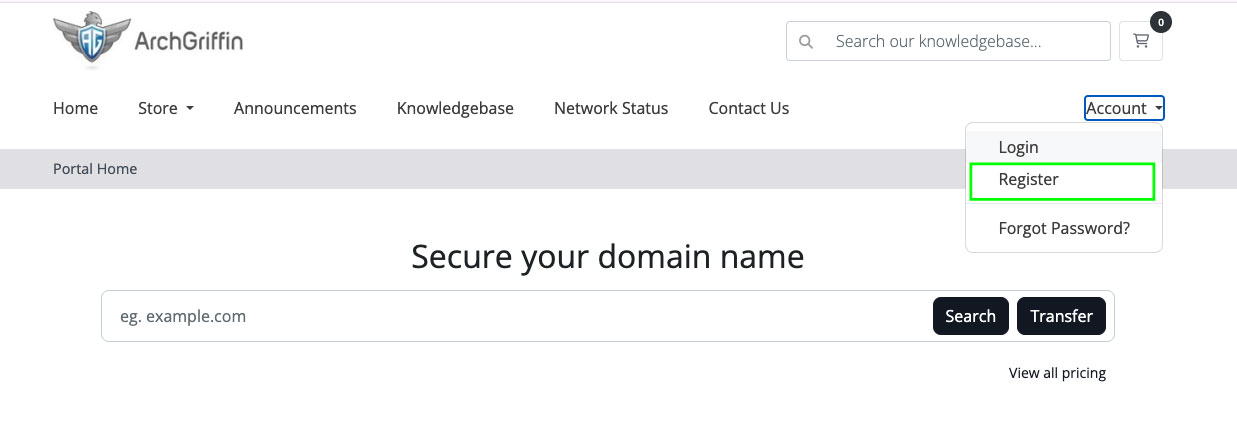
2: Click the "Account" button on the top right of the main menu bar to bring up the My Account menu.

Step 2: Click “Register”
- Click the "Register" button to access the registration form.
Step 3: Complete Your Personal Details
Fill in the required fields:
- First Name
- Last Name
- Email Address
- Phone Number
** Important: Use a valid email address — this will be used to log in and receive notifications.

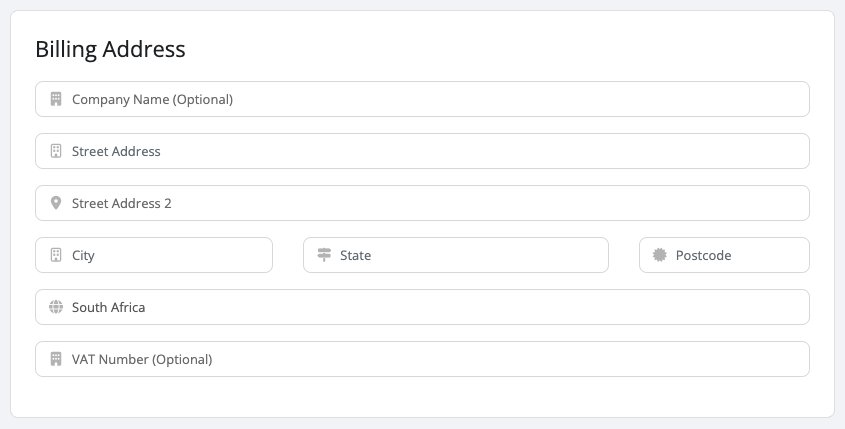
Step 4: Enter Billing Information
Complete the following:
- Company Name (optional)
- Street Address
- Street Address 2 (optional)
- City
- State
- Postcode
- Country
- VAT Number (optional)
** This information is used for invoicing and service records
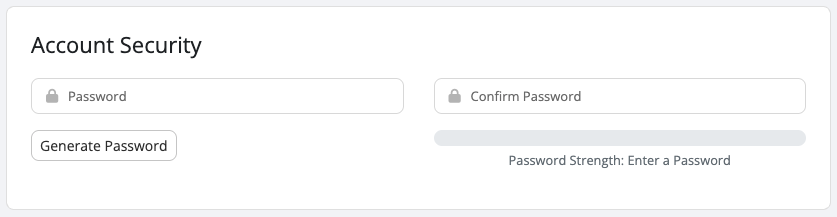
Step 5: Create Your Login Details
- Choose a secure password
- Confirm your password
Tip:
- Use a strong password (12+ characters)
- Include uppercase, lowercase, numbers, and symbols
You can also use the “Generate Password” button if needed.
Step 6: Choose Mailing List Preference
- Select Yes or No to join the mailing list
** You can unsubscribe at any time.
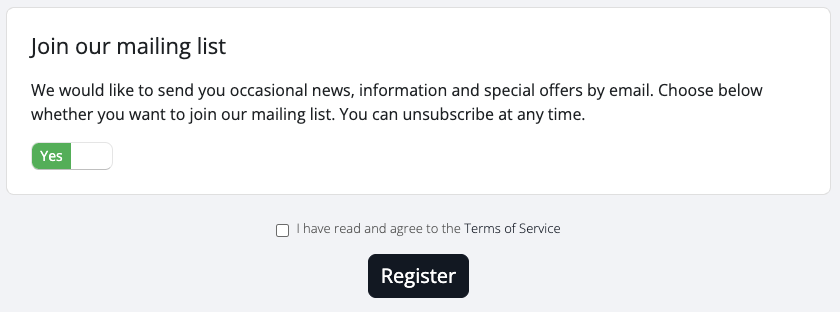
Step 7: Accept Terms of Service
- Tick the checkbox:
✔ I have read and agree to the Terms of Service
Step 8: Submit Your Registration
- Click the Register button
Step 9: Verify Your Email Address
After registering:
- Check your email inbox
- Open the email from ArchGriffin
- Click “Verify your email address”
** This step is required to activate your account.
Important Notes
- The verification link is valid for 60 minutes only
- If it expires:
- Log into the client portal
- Request a new verification email
Step 10: Log In to Your Account
Once verified:
- Go to the login page (access in the "Account" Dropdown menu)
- Enter your email and password
Troubleshooting
Didn’t receive the email?
- Check your Spam / Junk folder
- Ensure your email address was entered correctly
